
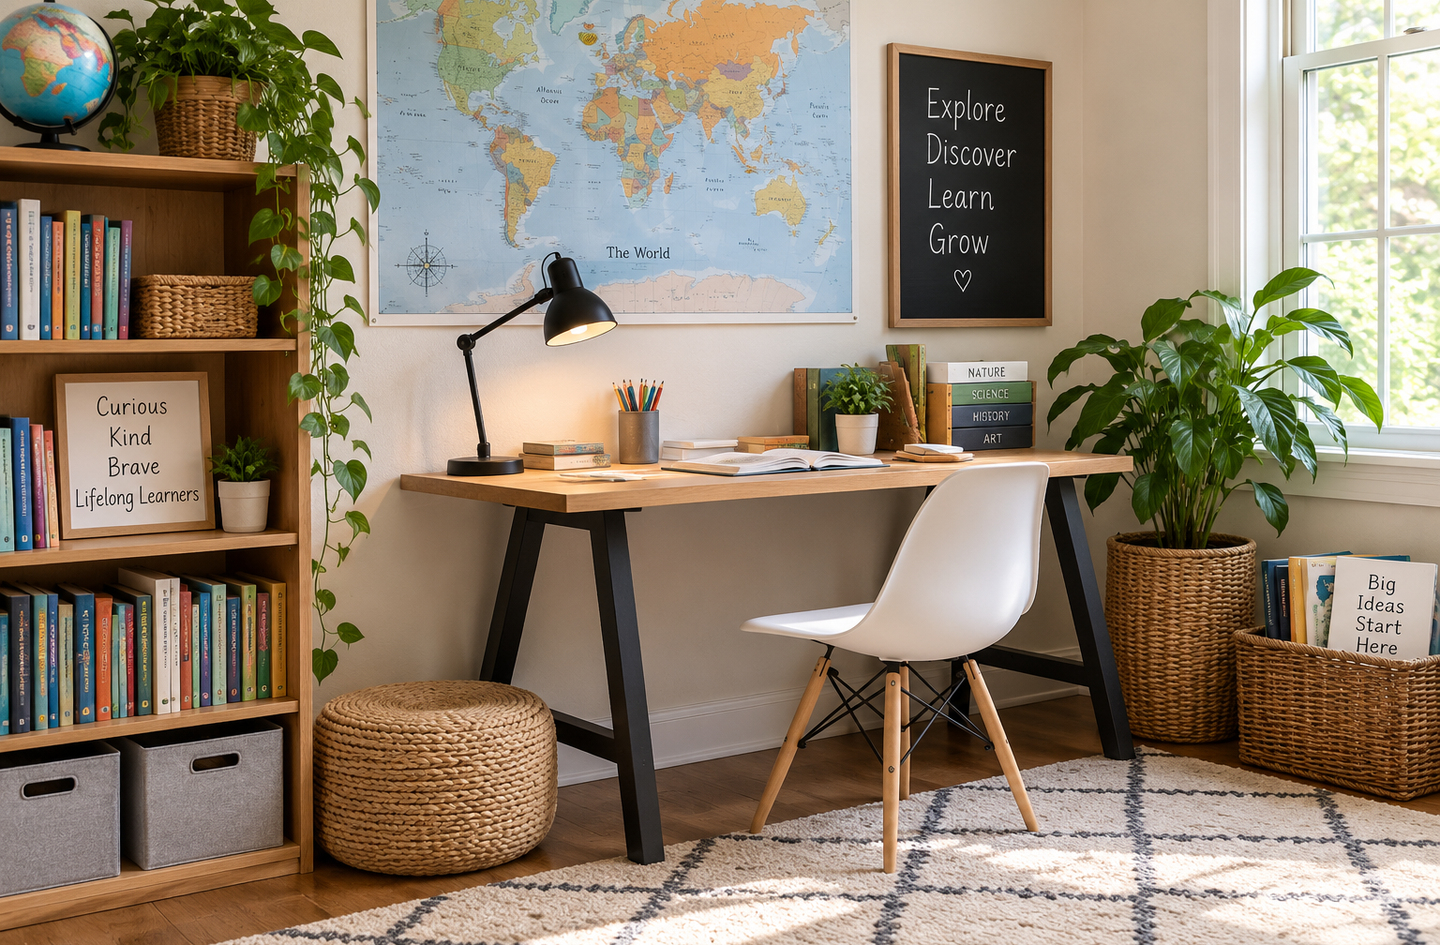
Homeschool room ideas on a budget work best when the money follows the jobs the room has to do. A child needs a surface that fits, storage that stays upright, light on the page and a reset that takes minutes, and decor comes after those four. This article sits under our homeschool learning zones guide, the overview of how learning areas fit into a family home. The audience is broad: NCES survey data show 5.4 percent of U.S. students were reported as homeschooled in 2020-211. A working room for any of them can start with furniture already in the house.
Quick Answer
Where should a small homeschool room budget go first?
Spend in this order: a work surface that fits the child, storage anchored to the wall, task lighting, a daily reset system, and decor last. The first three solve problems that decor cannot. Furniture and TV tip-overs sent an average of 18,673 children a year to U.S. emergency departments from 1990 to 20194. Many of the strongest moves cost nothing at all: moving a table, lowering a shelf, clearing a wall.
Key Takeaways
- A function-first budget pays for four jobs before decor: a fitted work surface, anchored storage, light on the page and a fast daily reset.
- Secondhand dressers and bookcases need their own anchors. The federal stability rule covers only clothing storage units made after September 1, 2023, and it does not cover bookcases5.
- Old paint is the hidden cost of free furniture. EPA lists furniture refinishing among the jobs that can expose people to lead, and lead-based paint for homes was banned only in 197867.
- The common misconception is that decor makes a learning room work. In one study, kindergartners answered 55% of questions correctly in a sparse classroom and 42% in a heavily decorated one2.
Before You Start: What a Budget Homeschool Room Needs
A budget homeschool room needs four working parts before any decoration: a surface the child fits, storage that stays upright, light on the work and a reset routine. Everything else can wait for a later phase.
Function-first budgeting is a spending order that funds the parts of a room a child uses every school day before the parts that only change how it looks. It treats the room as a system, so each purchase has to solve a friction point that someone has already seen happen.
Homeschooling is not limited to high-income homes. NCES survey data for 2020-21 show higher rates in some lower-income bands than in the highest. Among adults with children at home, 8.8 percent in households earning $25,000 to $49,999 reported a homeschooled student1. The figure was 5.5 percent in households earning $150,000 or more1.
Gather these before the first step:
- A tape measure, a pencil and a notebook for the room audit.
- A stud finder, or a plan to ask a licensed installer about the wall type.
- A list of the furniture, lamps and containers already in the house.
- A spending cap split into four phases, with decor in the last one.
- Time: a few school days for the audit, then one phase at a time. Difficulty: beginner.
Write the spending cap down before the first trip to a thrift store. A cap split by phase stops decor from spending the money meant for wall anchors and a good lamp.
Step 1: Audit the Room and Everything Already in the House
The cheapest homeschool room ideas start with a list, not a purchase. By the end of this step you have a written list of the school tasks, the friction points and every reusable piece in the house.
Observation before shopping is the rule here. Watch two or three ordinary school days and take notes. Record where the child actually sits, where papers pile up, which supplies go missing and where the daylight falls at each hour.
Then walk the whole house with the notebook. A spare chair, a hall bookcase, a garage dresser or a guest-room lamp can each fill a job in the school room. Note each piece’s height, condition and paint, because those three facts decide what happens next.
- List the daily tasks: reading, writing, screen work, hands-on projects and read-alouds.
- Mark the friction points: the paper pile, the daily hunt for pencils, the glare on a screen.
- List every reusable piece by the job it could do: surface, seat, storage or light.
- Flag anything painted, wobbly or taller than the child for a closer look in later steps.
If the school space is a corner of a shared room, the layout rules in our compact learning zone guide set the footprint before any furniture moves.
Verification: every task on the list has a place where it already happens, or a marked gap. The gaps, not a catalog, become the shopping list.
The audit is the highest-return step in a budget room. Every gap it finds becomes a purchase with a job, and every reused piece leaves money for anchors and light.
Step 2: Fit a Work Surface to the Child Before Buying a Desk
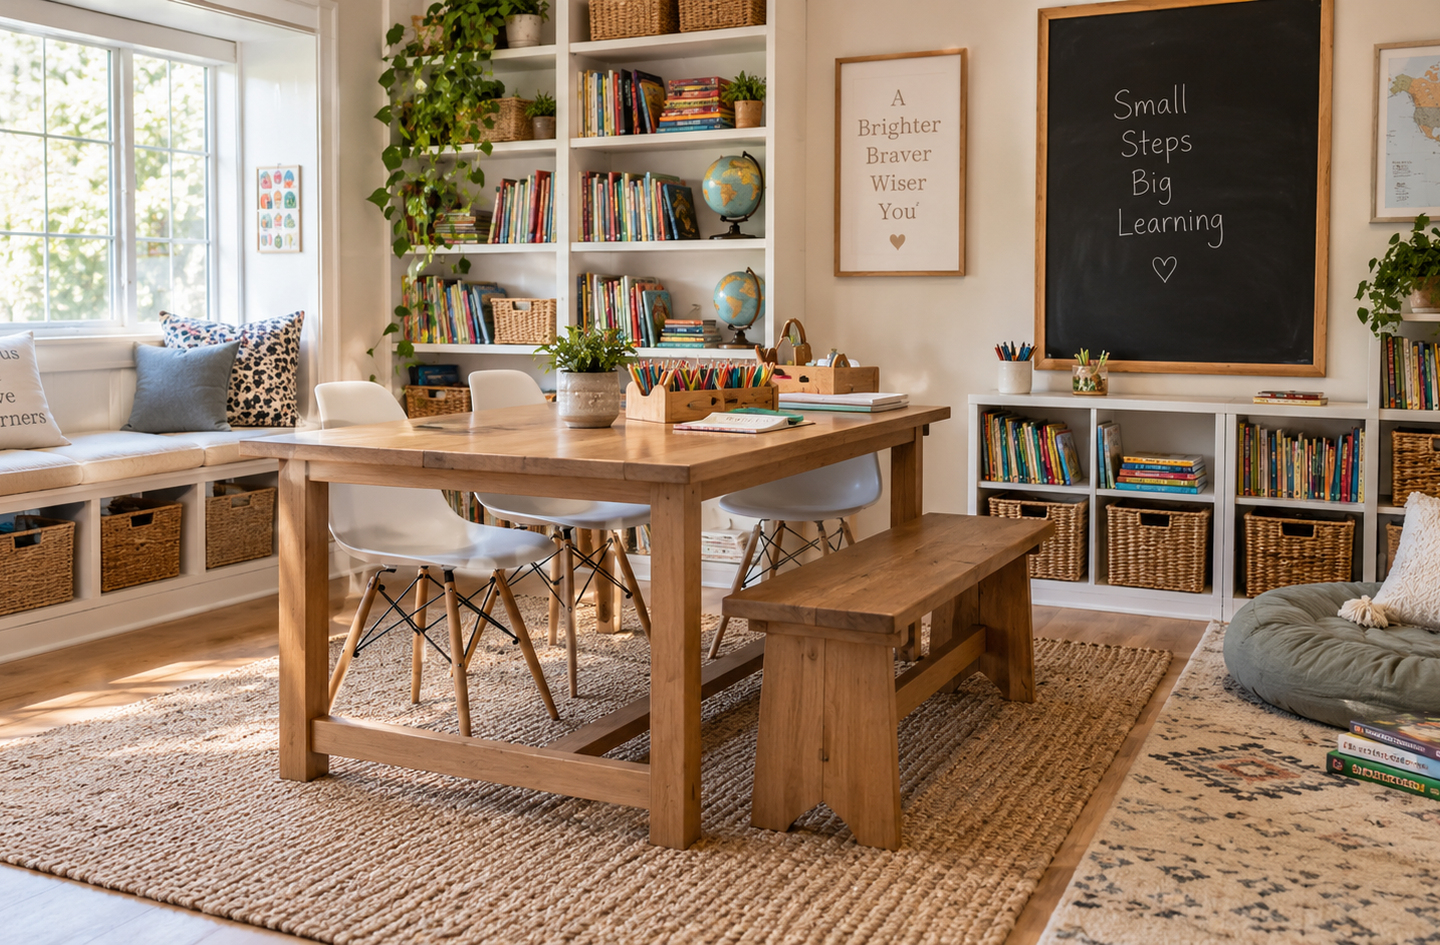
A work surface that fits the child matters more than a new desk, and a kitchen or dining table can fill the role at no cost. By the end of this step the child sits with both feet supported and forearms resting near the table top.
For a reference point, the ADA Standards permit accessible children’s work surfaces in public buildings with tops from 26 to 30 inches above the floor3. That range is written for wheelchair access in schools and similar buildings, not as a fitting rule for a home table.
Most adult tables can be made to fit without buying anything new. Raise the child first, then support the feet:
- Seat: a firm cushion or a booster raises the child until the forearms rest near table height.
- Feet: a sturdy box, a step stool or a stack of large books taped together gives the feet a flat place to rest.
- Back: a folded towel behind the lower back fills a chair seat that is too deep.
- Check: the elbows bend near a right angle, the shoulders stay relaxed and both feet rest flat.
If a separate desk is worth buying, secondhand often costs less than new. Push each corner to test for wobble, open every drawer fully to confirm the stops hold, and run a hand under the edges for splinters and sharp hardware. Set aside any piece with peeling paint until the lead check in Step 5 is done.
A child-height activity table pays back across ages when its legs adjust. A fixed low table suits a five-year-old and turns too low within a few years, so adjustable legs can justify a higher price.
For a station that also handles homework and screens, our homework station planning article works through the desk-versus-table decision. Families who school at the kitchen table can keep it clear for meals with a portable learning system instead of a fixed desk.
Fit beats furniture. A dining table with a cushion and a footrest serves a child better than a new desk sized for an adult.
Step 3: Reuse Storage, Then Anchor Every Tall Piece
Repurposed bookcases, dressers and crates are among the best cheap homeschool room ideas, provided every tall piece is anchored to the wall. When this step is done, the school materials have homes, and every tall piece is strapped to the wall to reduce avoidable tip-over risk.
Tip-overs are a risk with any unanchored tall piece, free or new. From 1990 to 2019, U.S. emergency departments treated an average of 18,673 children a year for furniture or TV tip-over injuries4. Children younger than 6 accounted for 69.9% of those injuries4.
Secondhand dressers deserve extra care. The federal stability rule for clothing storage units took effect on September 1, 2023, and applies to units manufactured after that date5. The law behind it calls for tests that simulate the weight of children up to 60 pounds, including units 27 inches and above in height5. A thrift-store dresser built before that date was never tested to the rule.
Bookcases sit outside the rule entirely, because the standard does not cover shelving units such as bookcases5. A bookcase of any age, new or used, needs its own anchor.
A tip restraint is a strap, cable or bracket that ties the top of a furniture piece to the wall. The strap resists a pull on a drawer or shelf that could bring the piece forward. The authors of the Injury Epidemiology tip-over study call the use of tip restraint devices important, while arguing they are no substitute for stronger stability rules4.
Anchor into a stud, or use hardware rated for the wall type, and fit straps on both sides of a wide piece. Plaster, brick, tile and hollow walls each hold differently, so an uncertain wall goes to a licensed installer. Load the heaviest books on the lowest shelves of every reused bookcase, which keeps the weight low.
Daily materials belong low, where the child can reach them without climbing. For public buildings, the Access Board’s advisory children’s reach ranges put the high reach at 40 inches for ages 5 through 8. The high reach for ages 9 through 12 is 44 inches3. Adult-managed back-stock goes in a closed, latched unit, because a high shelf alone does not keep a determined child away.
When the materials outgrow one bookcase, our homeschool storage system article sorts books, supplies and back-stock into tiers.
Spend the first storage dollars on anchors, not bins. A reused bookcase strapped to a stud does more for the room than a new one standing loose against the wall.
Step 4: Light the Work Surface Before Anything Goes on the Walls
Good light on the page is a low-cost upgrade in a homeschool room, because a window and one task lamp handle much of the job. After this step, the work surface has side daylight and a lamp.
Task lighting is light aimed at the work itself, such as a desk lamp, rather than the ceiling light that fills the room. Place the lamp on the side opposite the writing hand, so the hand does not shadow the page. Shade the bulb so it never shines straight into the child’s eyes.
Set the work surface beside a window, not facing it or backing onto it. Facing a window puts glare in the child’s eyes, and a window behind the child throws reflections onto a screen.
Bulbs are where a small spend lasts longest. The U.S. Department of Energy says a typical incandescent lamp lasts about 1,000 hours8. Good-quality white LED products are expected to have a useful life of 30,000 to 50,000 hours or longer8. On those figures, one LED at the low end of its range lasts as long as about thirty typical incandescent lamps.
Secondhand lamps are a good buy when the cord and plug are intact. Skip any with cracked insulation or a loose socket, and run the cord along the wall, away from the walking path.
Light the page before decorating the wall. A lamp and a bulb improve every lesson, while a poster mostly changes how the room photographs.
Step 5: Check Secondhand and Painted Furniture Before Refinishing It
Free and thrift-store furniture is the heart of DIY homeschool room ideas on a budget, but old paint changes the plan. By the end of this step every painted piece is sorted: use it as it is, keep it out of daily contact, or pass on it.
Lead paint has a long tail in American homes. In 1978, the federal government banned the sale of lead-based paint for use in homes and childcare facilities6. EPA reports that approximately three-quarters of U.S. homes built before 1978 still contain some lead-based paint6.
Furniture can carry that history from house to house. EPA lists furniture refinishing among the jobs that can expose people to lead, and it calls lead especially dangerous to children six years old and younger7. A dresser from a relative’s older home or a painted chair from a yard sale can carry a finish older than the ban.
“If the lead-based paint is in good shape, it is usually not a problem.”6
U.S. Environmental Protection Agency, Reduce the Risk of Lead Exposure at Home
That calm reading points to a simple sort, and the deciding factor is condition, not age alone:
- Use it as it is: unpainted solid wood, laminate or metal, or a sound painted piece that has tested negative for lead.
- Keep it out of daily contact: a sound older piece can serve as a closed, latched unit for adult-managed back-stock, away from the work surface.
- Pass on it: chipping, peeling or flaking paint on an older piece, because EPA advises against removing lead-based paint yourself6.
If a painted heirloom is worth keeping, have it tested or ask a lead-safe certified professional before any sanding starts. For small areas of damaged paint in homes, EPA advises fixing them without sanding6. Before buying any used chair or storage piece, search its brand and model on the CPSC recall list.
The cheapest finish on an old painted piece is the one already on it. If it is sound, use it; if it is failing, pass on the piece rather than sand it.
Step 6: Add Decor Last and Build the Daily Reset
Decor belongs at the end of a budget homeschool room, because research on classrooms suggests that busy walls can cost attention. By the end of this step the walls carry a short, rotating display and the room resets in about ten minutes.
In a Carnegie Mellon study, 24 kindergartners took six science lessons in two laboratory classrooms, one sparse and one heavily decorated2. They answered 55% of test questions correctly in the sparse room and 42% in the decorated one2. Off-task time was 38.6% in the decorated room, against 28.4% in the sparse room2.
“Therefore, I would suggest that instead of removing all decorations, teachers should consider whether some of their visual displays may be distracting to young children.”2
Anna V. Fisher, lead author and associate professor of psychology, Carnegie Mellon University
The study ran with kindergartners in a lab, not older children at home, and its lead author argues for editing displays rather than stripping them. At home, that points to one display board for the child’s own work, changed every week or two, and a mostly plain wall facing the desk.
A reset is the short routine that returns every item to its home at the end of a school day, so the next day starts from a known state. Design for the reset, not just the reveal: every item needs a home, a label the child can read and a place for unfinished work.
- Papers go into one inbox tray, never onto the table.
- Books go back to the shelf, covers forward where space allows.
- Pencils, scissors and glue go back into one caddy.
- Unfinished projects go into a labeled bin for tomorrow.
- The work surface is wiped and left clear.
When the school space is a single corner rather than a full room, the same reset scales down to a small focus zone layout.
Spend nothing on decor until the reset holds for two straight weeks. A room that resets is ready for a few chosen pieces, while a room that does not will bury them.
A Phased Plan for Homeschool Room Ideas on a Budget
A phased plan spreads homeschool room ideas on a budget over time, so each phase is paid for before the next one starts.
| Phase | What to do or buy | Why it comes here | Spend level |
|---|---|---|---|
| 1. Audit and reuse | Move the table beside a window, reuse shelves and lamps, clear one wall | Shows the real gaps before money moves | None |
| 2. Fit and anchor | Seat cushion, footrest, tip restraints for every tall piece | Fits the child to the surface and reduces avoidable tip-over risk | Low |
| 3. Light and reset | One task lamp, LED bulbs, caddy, inbox tray and labeled bins | Lights every lesson and makes the daily reset fast enough to keep | Low |
| 4. Decor and upgrades | One display board, a rug, an adjustable table or desk when the child outgrows the setup | Only after the room works on a busy school day | Varies |
The phase order is a Playroom Architect synthesis, because no single source ranks these spends. ADA Standards permit accessible children’s work tops of 26 to 30 inches in public buildings3. U.S. emergency departments treated an average of 18,673 children a year for furniture or TV tip-overs from 1990 to 20194. Good-quality LEDs are expected to last 30,000 to 50,000 hours8, and kindergartners scored 42% in a decorated lab classroom against 55% in a sparse one2.
The order matters more than the amount. A small budget spent in this sequence buys a working room. A larger one spent on decor first can still leave the table too high and the bookcase loose.
Common Mistakes With Cheap Homeschool Room Ideas
The most common budget mistake is buying before observing, because a purchase made before the audit solves a guessed problem rather than a seen one.
Buying storage before the audit
Bins and shelves bought first tend to fit the store’s categories, not the family’s materials. Run the Step 1 audit, sort what exists, and buy storage only for the gaps that remain.
Treating free furniture as finished
A free dresser or bookcase still needs a tip restraint, a wobble check and a look at its paint.
Buying a fixed child-size desk too early
A small fixed desk fits for a short window and then needs replacing. An adult table with a cushion and footrest, or an adjustable table, follows the child through several growth spurts.
Spending on a theme first
Themed wall sets and matching decor use the budget that anchors and a lamp needed. They also fill the wall the child faces, the wall this article suggests keeping calm, based on the classroom study.
What a Working Budget Homeschool Room Looks Like
A working budget homeschool room passes a short checklist on an ordinary weekday. Real homes, real budgets, realistic upkeep: the test is whether the room still works on a busy afternoon.
- The child sits with both feet supported and forearms near the table top.
- Every tall bookcase and dresser is strapped to the wall.
- A shaded lamp lights the page from the side opposite the writing hand.
- The daily reset takes about ten minutes, and the child can do most of it alone.
- One display board carries the child’s current work; the facing wall stays mostly plain.
- The spending log shows each phase paid for before the next began.
The stretch goal comes later: when the child outgrows the table setup, an adjustable desk or table becomes the first real furniture purchase.
Frequently Asked Questions
What is the cheapest way to set up a homeschool room?
Reuse before buying. Audit the house for a table, chairs, shelves and lamps, then fix the fit with a cushion and a footrest. Spend first on tip restraints and LED bulbs: good-quality LEDs are expected to last 30,000 to 50,000 hours, against about 1,000 for a typical incandescent lamp8. Decor comes last.
Is secondhand furniture a good choice for a homeschool room?
It can be, when each piece passes three checks: stability, condition and paint. The federal dresser stability rule covers only units made after September 1, 2023, and it does not cover bookcases5. Anchor every tall used piece, and pass on anything with chipping or peeling old paint.
Does a homeschooled child need a real desk?
Not at first. A dining or kitchen table works when the child is raised to fit it and the feet are supported. For comparison, ADA Standards permit accessible children’s work surfaces in public buildings at 26 to 30 inches high3. An adjustable desk can wait until the child outgrows the table.
How much of a homeschool room budget should go to decor?
As little as possible until the room works. In a Carnegie Mellon lab study, kindergartners answered 55% of questions correctly in a sparse classroom and 42% in a decorated one2. One display board for the child’s own work, changed often, costs little and keeps the facing wall calm.
Can I sand and repaint old furniture for a homeschool room?
Not when the finish could be old lead paint. Lead-based paint for homes was banned only in 1978, and EPA advises against removing lead-based paint yourself6. Use sound older finishes as they are, pass on peeling pieces, and ask a lead-safe certified professional before sanding anything worth keeping.
Limitations and Edge Cases
- The rules and figures here are U.S. federal rules and U.S. survey data. Other countries set their own furniture stability and lead-paint rules.
- The decorated-classroom study tested kindergartners in a lab classroom. Its result is a reason to keep the facing wall calm, not a measured effect for older children studying at home.
- Playroom Architect offers engineering-informed education, not a substitute for professional advice. A child with posture, vision or attention concerns needs individual advice from a pediatrician, an eye doctor or a pediatric occupational therapist. An uncertain wall, or a painted heirloom worth restoring, needs a licensed installer or a lead-safe certified professional.
References
Methodology: every figure in this article comes from an independent published source linked below, and each was checked against its source text on October 24, 2026. The steps, phase table and spending-order diagram are planning syntheses built on those sources by the article’s author, who holds editorial responsibility for the article.
- National Center for Education Statistics – Homeschooled Children and Reasons for Homeschooling, Condition of Education indicator.
- Association for Psychological Science – Heavily Decorated Classrooms Disrupt Attention and Learning in Young Children, on Fisher, Godwin and Seltman in Psychological Science, May 27, 2014.
- U.S. Access Board – ADA Accessibility Standards, section 902.4 on children’s work surfaces and Advisory 308.1 on children’s reach ranges.
- PubMed – Lu C, Badeti J, Mehan TJ, Zhu M, Smith GA. Furniture and television tip-over injuries to children treated in United States emergency departments. Injury Epidemiology, August 2021. DOI 10.1186/s40621-021-00346-6.
- Federal Register – Safety Standard for Clothing Storage Units, U.S. Consumer Product Safety Commission direct final rule, document 2023-08997, May 4, 2023.
- U.S. Environmental Protection Agency – Reduce the Risk of Lead Exposure at Home, lead program guidance page, updated October 5, 2026.
- U.S. Environmental Protection Agency – Learn About Lead, lead program overview page, updated October 14, 2026.
- U.S. Department of Energy – LED Basics, Solid-State Lighting program.
Conclusion
Homeschool room ideas on a budget come down to the order of spending, not the total. Fund the fitted work surface, the anchors, the light and the reset first, using what the house already holds. Add decor, and a dedicated homeschool desk, only when the room already works on a busy school day.
For how a budget room fits the wider topic of learning areas at home, return to the homeschool learning zones guide.