
A kids painting station fails in a different way than a drawing table, because water spills, paint splashes and wet sheets all need somewhere to go. Our Art & Craft Stations guide is the overview of planning a home art station. This article goes deeper on one angle, planning for wet media, starting with the paint itself. The U.S. Consumer Product Safety Commission advises against art products with warning labels for children up to 12 years old, meaning pre-kindergarten through grade six1. Then plan for water, splashes and drying.
Quick Answer
How do you plan a kids painting station that does not flood the room?
Plan the water first: use water-based paint, small cups and a short walk to a sink. Put the table on a hard floor or a wipeable mat, keep supplies within the child’s reach and give every wet sheet a drying area a few steps away. The EPA advises drying water-damaged areas within 24 to 48 hours to prevent mold growth2, so plan for spills to dry quickly.
Key Takeaways
- A painting station has three jobs a drawing table does not have: handling water, containing splashes and drying wet work.
- The CPSC tells adults to give children only small amounts of art materials to minimize spills and mishaps1, so small cups beat large jars.
- Children aged three to four reach between 20 and 36 inches above the floor3, so paint cups and brushes belong inside that band.
- The splash zone is a floor and wall problem, not only a table problem, so plan both before buying a mat.
- A frequent miss is drying: a wet painting with no place to go ends up on the floor, the couch or the next project.
Before You Begin: How a Kids Painting Station Differs From a Drawing Table
A kids painting station is a wet zone with a table in it, while a drawing table is a dry zone with paper on it. That one difference changes the floor, the wall, the supply layout and the exit route for finished work. Wet media are art materials applied with water or another liquid, such as watercolor, tempera, finger paint and washable acrylic, which drip, splash and stay wet afterward.
Crayons fail quietly, because a dropped crayon stays where it lands, while a tipped water cup runs off the table edge and soaks the rug in seconds. Treating the painting area like a coloring table creates daily friction points: wet sleeves, gray rinse water on the floor and sheets drying in a stack.
The room as a system means planning the water route before choosing a single product. Walk the room for a week and note where children paint, where water gets refilled and where wet work ends up. Those locations identify where the station belongs.
| Planning question | Drawing or coloring table | Kids painting station |
|---|---|---|
| Floor under the table | Any floor, including rugs | Hard floor or a wipeable mat that extends past the chairs |
| Wall behind the table | Usually untouched | Washable paint, a panel or an easel backing at splash height |
| Supplies on the table | Bins and cups of dry tools | Paint cups, a rinse cup, a sponge and a towel, all within reach |
| Water access | Not needed | A sink nearby, or a lidded water jug the adult refills |
| Finished work | Goes straight to a tray or a wall | Needs a drying area first, away from the walking path |
| Cleanup | Sort and put away | Rinse brushes, wipe surfaces, dry the floor, then put away |
What you will need:
- A table at the child’s working height, or an easel with a paint tray.
- Water-based paints with the manufacturer’s label intact.
- Small, weighted or spill-resistant paint cups, plus one separate rinse cup.
- A wipeable floor mat larger than the table and chair footprint.
- A drying rack, a clothesline with clips or a clear flat shelf.
- A cleanup kit: a sponge, an old towel, a small bucket for adult use and a smock.
Time: one afternoon to set up, then a short reset after each session. Difficulty: beginner, unless the plan adds a sink or wall-mounted hardware.
A painting station earns its space through the water plan: the table matters less than where water comes from, where it spills and where wet work goes.
Step 1: Choose Water-Based Wet Media and Set the Water Volume
By the end of this step, the station holds only paints a child can use without solvent cleanup, in amounts small enough to tip without a flood. The CPSC tells adults to avoid solvents and solvent-based supplies, including turpentine and paint thinner, for children up to 12 years old1. Water-based paint keeps both the paint and the cleanup in plain water.
Choosing the medium comes first because it sets every later choice: watercolor needs the most water, finger paint needs the most floor protection and tempera sits in between.
Read the label before the paint reaches the shelf
The CPSC Art and Craft Safety Guide tells families to look for products labeled “Conforms to ASTM D-4236” and to avoid products with cautionary warnings for young children1. ASTM D-4236 is the labeling standard that outlines how precautionary labels are developed for art materials that could cause chronic health effects. The statement is not a product guarantee; it means the label and its warnings follow that standard.
Keep paints in their original containers or decant them into small cups at the start of each session, never into an unlabeled jar that later lives on the shelf.
Match the medium to the age and the room
Younger painters tend to dip, smear and pour, while older children can manage a palette and a rinse routine. Match the medium to the room you have, not the room in a photograph.
| Medium | Water at the table | Splash and drip load | Drying need | Best station shape |
|---|---|---|---|---|
| Watercolor (cake or liquid) | High: rinse cup refilled during the session | Low to medium: drips from loaded brushes | Flat drying; wet sheets curl if hung too soon | Table with a rim or tray |
| Tempera | Medium: one rinse cup | Medium: thick paint flicks from brushes | Rack or line; dries faster than watercolor wash | Easel or table |
| Finger paint | Low at the table, high at cleanup | High: hands, sleeves and floor | Flat; heavy paint can crack if lifted wet | Low table on a large mat, sink close |
| Washable acrylic for kids | Medium: rinse brushes before paint dries | Medium | Rack or line; brushes must be rinsed promptly | Table or easel, older children |
Water volume is the second half of this step. The CPSC tells adults to give children only small amounts of materials to minimize spills and mishaps1. In practice, that means a rinse cup filled a third of the way: a tipped small cup requires a wipe, while a tipped jar requires a mop.
“Children need regular and consistent reminders of safety rules, and there is no substitute for direct supervision.”
U.S. Consumer Product Safety Commission, Art and Craft Safety Guide1
Verification: every paint on the shelf is water-based and labeled, and the rinse cup holds only a few sips of water.
Buy the paint after you know which mess the room can absorb, since a carpeted room suits watercolor at a rimmed table far better than finger paint.
Step 2: Place the Painting Area for Kids Near Water and Out of the Walking Path
A painting area for kids works best on a hard floor, near a water source and away from the main route through the room. By the end of this step, the station has a fixed location where spills land on a wipeable surface. A wet child never crosses the rug to reach the sink.
Rank the candidate spots
List every place a station could go, noting the floor type, the distance to water and whether a walking path crosses it. A tiled corner near the kitchen beats a sunny bedroom spot on a rug. A lamp can fix poor lighting, but nothing fixes a carpet that soaks up rinse water every week.
Plan for the sink, or plan without one
A sink at child height is ideal, but few homes include one. The federal accessibility standards permit 24 inches of knee clearance at a children’s sink with a rim no higher than 31 inches, for ages six through twelve3. Adding plumbing is a job for a licensed plumber or contractor. Without a sink, an adult-filled lidded jug for clean water and a second jug for dirty water keep refills under adult control. A step stool on a non-slip surface at an existing sink is another option.
Verification: stand at the station and walk to the water source. If the route crosses carpet or a doorway, try a different location.
The shortest water route wins over the prettiest corner, because every extra step between table and sink becomes a drip line on the floor.
Step 3: Set Working Heights and Place Paint Cups Within Reach
Paint cups, brushes and the rinse cup belong inside the child’s reach band, on the side of the painting hand. Federal accessibility guidance lists children’s high and low reach for three age groups. The ranges run from 20 to 36 inches for ages three and four up to 16 to 44 inches for ages nine through twelve3. Supplies placed outside that band invite leaning, stretching and climbing.
By the end of this step, a seated or standing child can reach every cup without leaning across wet paper, which drags sleeves through paint and knocks cups over.
Pick the table or easel height
The same standards set children’s work surfaces at 26 to 30 inches high, and permit knee clearance of 24 inches3. Those figures apply to older children’s tables in public buildings, so treat them as a reference, not a rule for a toddler. For a full comparison of table size and seating, see our art table sizing guide.
An easel changes the geometry: paint runs downward on a vertical surface, so drips land on the tray, the easel legs and the floor in front. Set the paper so its center sits near the child’s shoulder height.
Place cups by hand, not by symmetry
Position the paint cups on the painting-hand side, close to the paper, with the rinse cup just beyond, so the brush moves from paint to paper to rinse. Keep the towel on the opposite side, so the loaded brush never crosses the page twice.
Put the reach figures side by side and one band stands out. Children from three to twelve can all reach between 20 and 36 inches3, and a children’s table top at 26 to 30 inches3 sits inside it. That band is the zone for cups, brushes and the rinse station. Inside that band sits a second line worth knowing: the federal tip-over standard covers clothing storage units 27 inches and taller4. Storage that tall sits within a child’s reach, so plan to anchor tall furniture near the station.
Verification: watch one session, and if the child stands up, leans or walks around the table to reach a cup, move the cup.
Reach is the hidden splash control: a cup within easy reach gets set down gently, while a cup at the edge of reach gets knocked over.
Step 4: Contain Splashes With a Defined Splash Zone
Splash containment covers the floor, the wall and the table edge, not just the tabletop. A splash zone is the area around a painting station where drips, flicks and spills can land, including the floor near the chairs and the wall behind the paper. By the end of this step, every surface inside that zone can be wiped clean.
Workplaces that use water follow the same logic, and federal rules ask employers to keep workroom floors clean and, where feasible, dry.
“When wet processes are used, drainage must be maintained and, to the extent feasible, dry standing places, such as false floors, platforms, and mats must be provided.”
U.S. Occupational Safety and Health Administration, 29 CFR 1910.22(a)(2)5
That rule does not apply to a home, but the principle transfers: where water is part of the activity, give people a dry, stable place to stand.
Size the floor mat to the chairs, not the table
Measure the table, then add the space where chairs slide back and children stand up, because splashes land where hands move. A mat that stops at the table legs leaves the busiest strip bare. Select a mat that lies flat, grips the floor and has no curling edges that could trip someone.
Protect the wall at splash height
Easels throw paint onto the wall behind them, while tables throw it lower, near the table edge. Cover that strip with a scrubbable paint finish, a wipeable panel or a clear acrylic sheet. Mount panels with anchors suited to the wall type, and ask a licensed installer if the wall is plaster, brick or unknown.
Give the table edge a lip
A tray with raised edges under the paint cups catches small tips before they reach the floor and turns cleanup into a single lift to the sink.
Verification: after a session, look for paint outside the mat, since every mark shows where the splash zone needs to grow.
Paint reaches the floor on hands, sleeves and brushes as well as from tipped cups, so the floor plan matters as much as the table finish.
Step 5: Pick Washable Surfaces and Plan Brush Storage
Washable surfaces turn a spill into a short wipe instead of a lasting stain. The EPA notes that porous materials such as carpet may have to be thrown away if they become moldy. It also advises drying water-damaged areas and items within 24 to 48 hours2.
By the end of this step, every surface in the splash zone can be wiped, and brushes have a home where they dry instead of soaking.
Select surfaces by how they clean
Sealed wood, laminate and plastic tabletops wipe clean, while raw wood and fabric absorb paint and water. On the floor, vinyl, tile and sealed hardwood handle splashes better than rugs. If a rug must stay, cover it with a mat wider than the splash zone and lift both after a large spill so the rug can dry.
The CPSC guide tells artists to clean up spills immediately, even small spills1. Keep a sponge and a towel inside the station, not in the kitchen, so the first wipe happens immediately.
Store brushes so they dry, not soak
Rinse each brush, press out the water with a towel and store it bristles up in a cup or flat on a towel. A brush left standing on its bristles in water bends out of shape. Keep the brush cup inside the reach band, so children can return brushes themselves.
The CPSC guide also says never to hold brushes or tools in your mouth1. A brush cup within reach gives a busy painter a better place to park one.
Verification: spill a cup of water on purpose during setup. If the cleanup takes one sponge and under a minute, the surfaces are right.
A surface that wipes clean protects the room more than any rule about being careful, because children will spill and the surface decides what happens next.
Step 6: Create a Direct Path From the Painting Station to Drying
Every wet painting needs a drying area within a few steps of the station, reachable without crossing the rug or the walking path. A drying path is the short, fixed route a wet painting travels from the easel or table to the place where it dries flat or hangs. By the end of this step, no painting dries on the table, a chair or the floor.
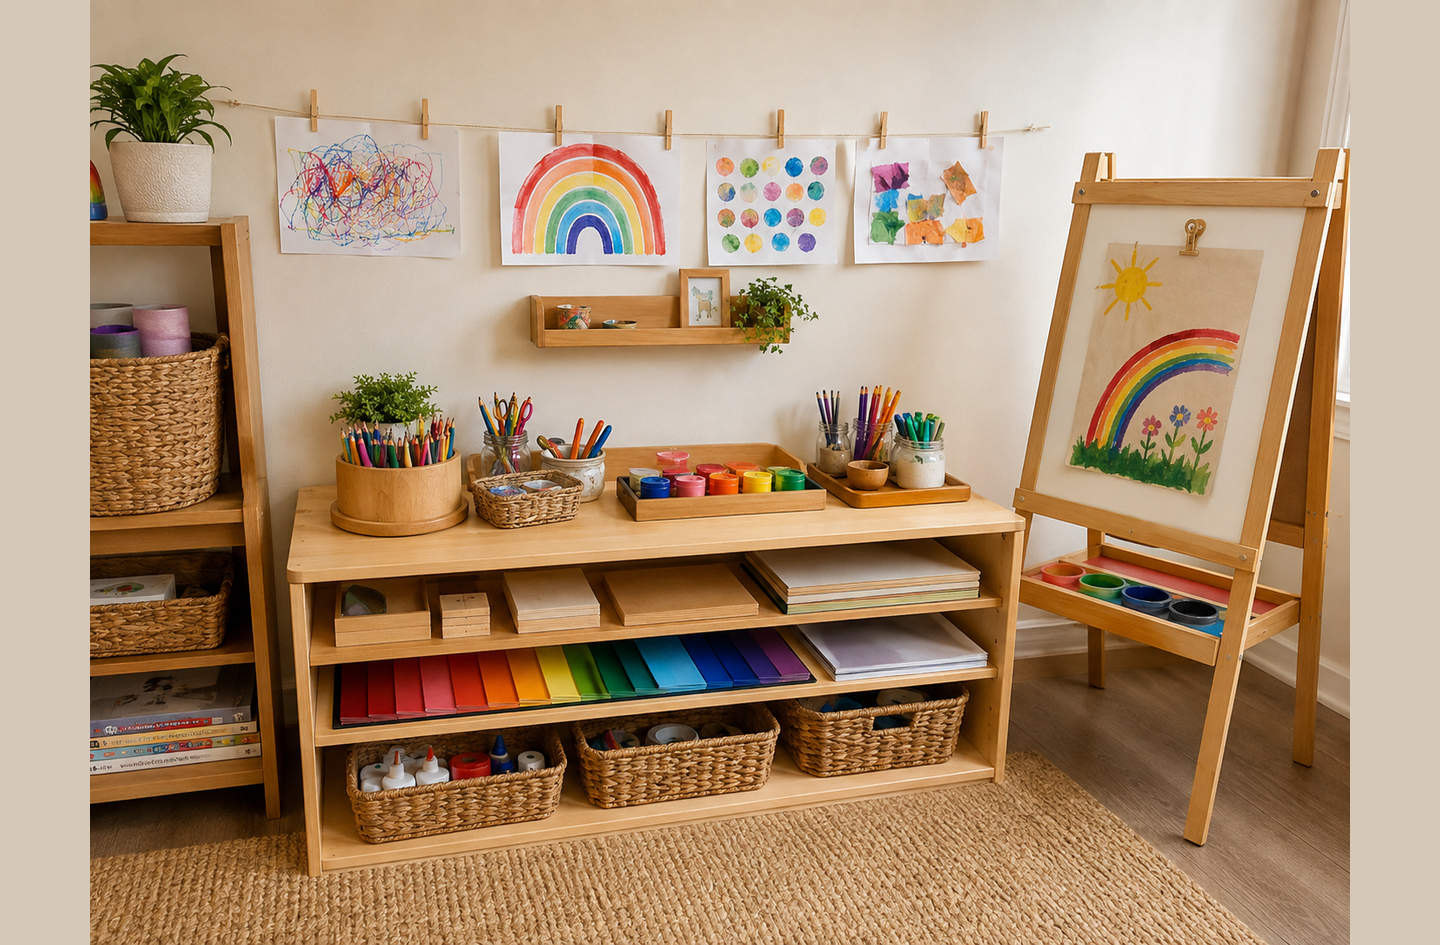
Drying space runs out before paint does: one session can produce several wet sheets, and each requires its own space, so plan capacity for a full session.
Select a rack, a line or a shelf
A wire drying rack holds many sheets flat in a small footprint and suits watercolor and finger paint, while a clothesline with clips suits tempera and lighter paper. A clear flat shelf works for heavy, wet pieces. Mount any line or rail securely, above head height, with cords kept out of young children’s reach.
Mind the air around the drying area
Paper dries faster in moving, drier air, and the EPA suggests keeping indoor humidity below 60 percent, ideally between 30 and 50 percent2. A drying area in a steamy bathroom or a damp basement stays wet much longer. The EPA also lists paints among household sources of organic compounds and reports that levels of several organics average 2 to 5 times higher indoors6. The EPA advises increasing ventilation when using products that emit VOCs, so open a window near the drying area.
Connect drying to storage and display
For what happens once a piece is dry, see our guide to storing kids artwork, which covers trays, portfolios and archives. For pieces headed to a wall, the rotating art gallery article compares clip systems, frames and ledges.
Verification: after a busy session, count the wet sheets and confirm that each one has its own drying space.
The drying area decides whether painting feels possible on a weekday, because a station without one turns every session into a pile of wet paper.
Step 7: Test the Reset Routine Before You Call the Station Done
A painting station is finished when a child can help reset it in a few minutes, not when it looks finished. A reset routine is the short, repeatable sequence that returns the station to its ready state after each session. Design for the reset, not just the reveal.
By the end of this step, the reset has a fixed order a child can follow with a little help.
- Move wet paintings to the drying area.
- Close paint containers and pour out the rinse water.
- Rinse brushes and stand them bristles up.
- Wipe the table, the tray and the wall strip.
- Check the floor and mat, then dry any wet spots.
- Hang the smock and return the cups to their places.
The CPSC guide adds one more step for every session: wash hands after using materials1. Place soap and a towel along the route between the station and the next activity.
Verification: time the reset for a week. If it keeps growing, the slowest step shows which part of the station sits in the wrong place.
The reset is the real test of the plan: a station that takes a long time to reset will be used less, however good it looks.
Common Mistakes in a Kids Paint Station
Many mistakes in a kids paint station come from treating it as a dry art table, and each has a simple fix.
Using a full jar of water
A large jar holds more water than any painting requires. Swap it for a small, weighted rinse cup, filled a third of the way and refilled by an adult.
Putting the station on carpet
Rugs absorb rinse water and paint, so move the station to a hard floor or cover the rug with a wipeable mat larger than the splash zone.
Drying on the table
Wet paintings left on the table smear and block the next session, so give drying its own location before the first session.
Storing supplies above the reach band
Paint stored on a high shelf invites climbing, so keep everyday supplies inside the reach band. Anchor any tall freestanding shelf to the wall, following the manufacturer’s instructions. The federal tip-over standard for clothing storage does not cover shelving units such as bookcases4, so anchoring a shelf falls to you. Ask a licensed installer if the wall type is unclear.
Each of these mistakes moves work from the station onto the parent, which is the clearest sign that the plan needs a change.
What a Working Home Painting Station for Kids Looks Like
A working home painting station for kids gets used on an ordinary weekday without a major cleanup. Children paint, move their work to the drying area and assist with the reset in minutes, while spills remain on the mat and brushes dry bristles up.
A useful stretch goal is a smaller second wet zone: a portable tray of watercolors for the kitchen table, with the same small cups and drying location.
Success shows up as frequency: the station that gets used every week is the one that resets fast.
Frequently Asked Questions
What should a kids painting station include?
A kids painting station needs a child-height work surface, water-based paint, small paint cups, a separate rinse cup, a wipeable mat, a cleanup kit and a drying area. Federal accessibility standards set children’s table tops at 26 to 30 inches3, a useful reference for school-age painters.
Where is the best place for a painting area for kids?
The best place is a hard floor near a water source and out of the main walking path. Rugs soak up rinse water, and the EPA advises drying water-damaged areas within 24 to 48 hours to prevent mold growth2. A kitchen corner or a tiled room usually works better than a carpeted bedroom.
What paint works best for a kids paint station?
Water-based paints such as watercolor, tempera and washable kids’ acrylic suit a home station because they clean up with water. The CPSC advises against art products with warning labels for children up to 12 years old1. Look for “Conforms to ASTM D-4236” on the label.
How high should paint supplies be for children?
Keep paint cups, brushes and the rinse cup inside the child’s reach band. Federal accessibility guidance gives a reach range of 20 to 36 inches for children aged three and four3, and wider ranges for older children. Supplies above that band invite climbing and leaning across wet paper.
How do you dry kids’ paintings at home?
Use a wire drying rack for flat, wet work, a clothesline with clips for lighter sheets, or a clear shelf for heavy pieces. Place it a few steps from the station. Paper dries faster in drier air, and the EPA suggests keeping indoor humidity below 60 percent2.
Limitations and Edge Cases
- This plan assumes water-based paints. Oil paints, solvent-based products and spray paints change the ventilation and cleanup needs, and the CPSC guide advises avoiding solvents for children up to 12 years old1.
- The heights cited here come from accessibility standards for public buildings and describe groups of children, not one child. Watch your own child paint and adjust. For a specific child’s motor or sensory needs, consult a pediatric occupational therapist.
- Adding a sink, new plumbing or wall-mounted rails is outside a planning article. Before installation, evaluate the work with a licensed plumber, contractor or installer.
References
Methodology: every cited figure comes from a published source listed here, each checked live on October 5, 2026. The reach-band chart and two planning tables are Playroom Architect planning syntheses, not measurements.
- U.S. Consumer Product Safety Commission – Art and Craft Safety Guide, Publication No. 5015.
- U.S. Environmental Protection Agency – A Brief Guide to Mold, Moisture and Your Home.
- U.S. Access Board – Guide to the ADA Accessibility Standards (2010 ADA Standards), Advisory 308.1 Children’s Reach Ranges, 606 Lavatories and Sinks, 902.4 Work Surfaces for Children’s Use.
- Federal Register – Safety Standard for Clothing Storage Units, U.S. Consumer Product Safety Commission, May 4, 2023.
- Occupational Safety and Health Administration – 29 CFR 1910.22, Walking-Working Surfaces: General Requirements.
- U.S. Environmental Protection Agency – Volatile Organic Compounds’ Impact on Indoor Air Quality.
Conclusion
A kids painting station works when the water has a plan. Choose water-based paint, keep water volumes small, place supplies inside the reach band, contain the splash zone and give every wet sheet a short path to drying. Then test the reset until a child can help finish it in a few minutes.
To see how the painting station fits the wider art space, return to the art station planning overview, the summary of planning a home art station.